Budget Friendly DIY Hat Displays
/Show off your creations in style and get yourself ready for Market Season with these Budget Friendly DIY Hat Displays. With market season almost here, lots of makers often look for ideas to affordably personalize their space. At the time of this writing, I know so many events are unknown as Covid-19 has created a time of uncertainty. But whether you are showing off your creations online for people to see and shop or getting ready for market prep, you still want to be stylish and these hat displays will help you do just that - and on a budget!
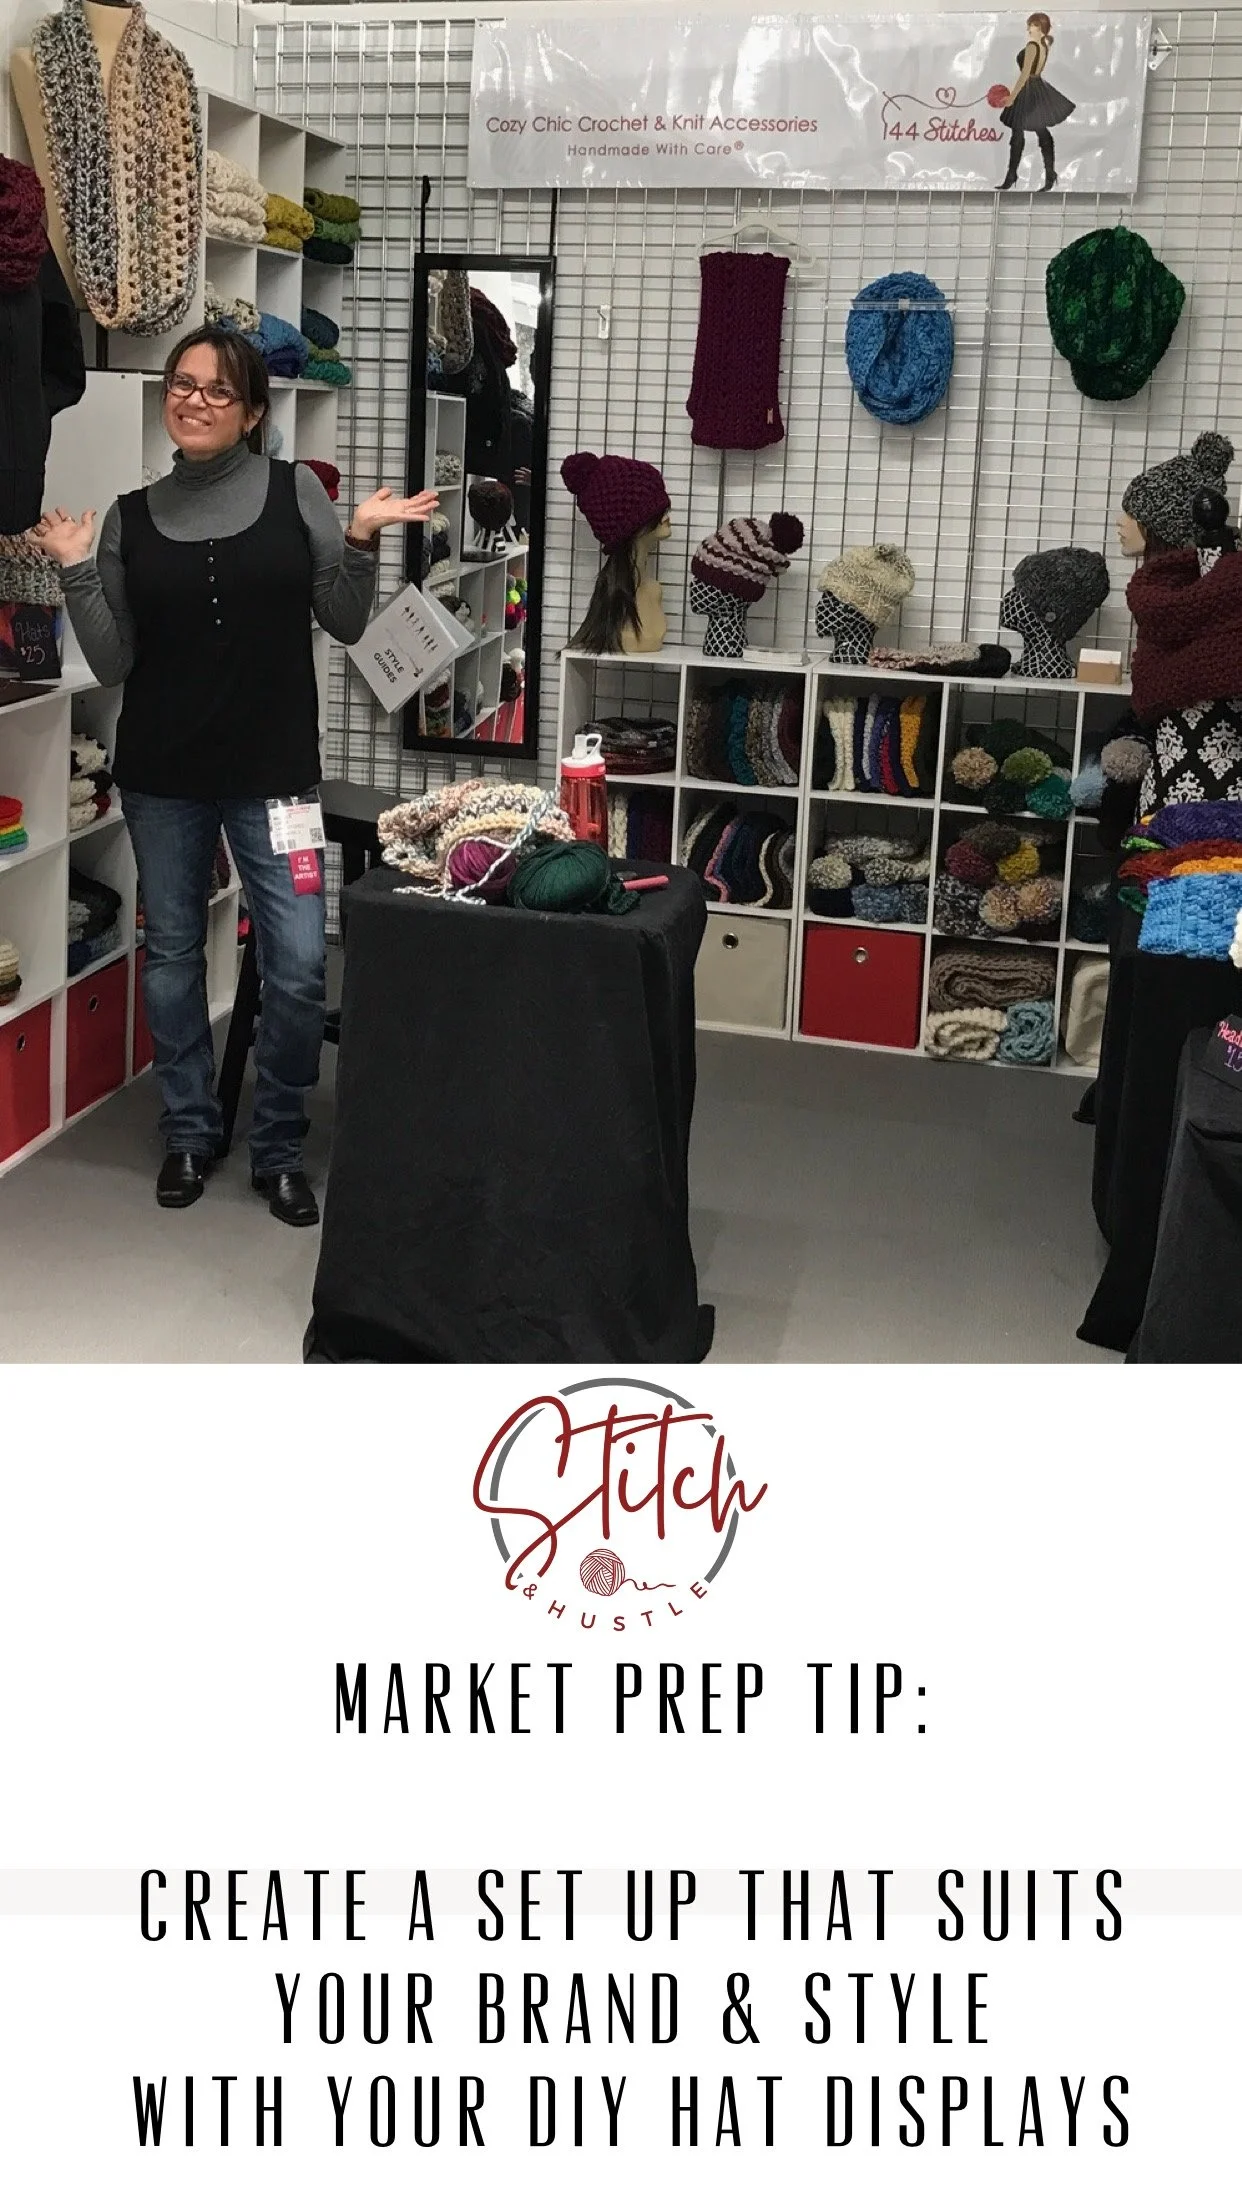
When I used to do markets, especially the bigger markets, I was always looking for creative ways to show off my work, stay on brand and create a stylish display. That is not always easy on a budget. I came up with this way to take my Styrofoam heads into custom branded displays for under $10 each!
To start, I got some foam displays on Amazon for $7 each. I liked the way the shape of the face was so I spent the extra $1 per head but if you are on a strict budget, there are also these foam display heads in packs of 2 for $12 ($6 each).
Next you will need to select and get your fabric. You can gets lots of great fabric either locally or online or even use discounted or old sheets! The key is to get something that is on brand and attractive but won’t distract from your work. To stay on brand I looked for fabrics that were black & white. I found a few wonderful options on sale locally. And since it is a small project and I need only small amounts I was able to mix it up with a variety in the “leftovers” bin. If you happen to know a quilter, they may have scraps that you can access and that would be a win win saving scraps and helping your friend recoup some cost.
Some places to seek fabric:
Fabric.com is a great source and has lots of options on clearance all the time
Hobby Lobby is hit or miss online and has better selections in their stores.
Walmart has fabric both in store and online.
Now let’s talk about the glue! I spent a bit more than I needed to as I was learning and experimenting what would work best. Let my expense be a budget saver for you. I landed on the Fabric Mod Podge as the best bet and treated the project like a fabric decoupage. I got it on sale and with a coupon from Hobby Lobby for less than $3 and used less than half the jar for a dozen heads. I had foam sponge brushes from another craft project in the studio, but if you need to buy them I suggest this pack.
I pulled out a folding table from the garage because I know I am a messy crafter. I like to spread out and have fun and not worry too much about all the tidy spaces. That is just my way.
I began by cutting the fabric. There is no specific size or shape to cut. You want to have a variety of strips and squares. Remember, this is to be decoupage and art in a way so it wont drape perfectly over the foam head.
The first thing I did was cut a medium sized rectangle to cover the top of the head and started slapping on the Mod Podge. I added smaller strips and squares as I went along and really let the shape of the strip of fabric tell me where to place it. I kept the scissors handy in case I had to snip or trim along the way.
The one thing I did intentionally was not mix fabric per head. Since I had selected a few fabrics from the discount bin I made sure not to mix them as I glued them on. I think this created a cleaner look.
All in all I spent:
$3 for glue
$16 for a variety of clearance and discounted fabrics
$7 per head
For 12 heads that came out to $9.16 per head - not too bad for customized, branded displays!
There you have it. It doesn’t take too much time. I did a dozen foam heads the night before my big show load in and set up. Now, I do not suggest you do it THAT last minute but like I said, it won’t take too much time. But leave yourself some time to have fun with it too. I sure did.


