Hand Felting Your Big Stitch Merino Wool
/
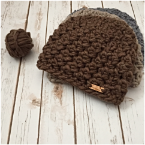
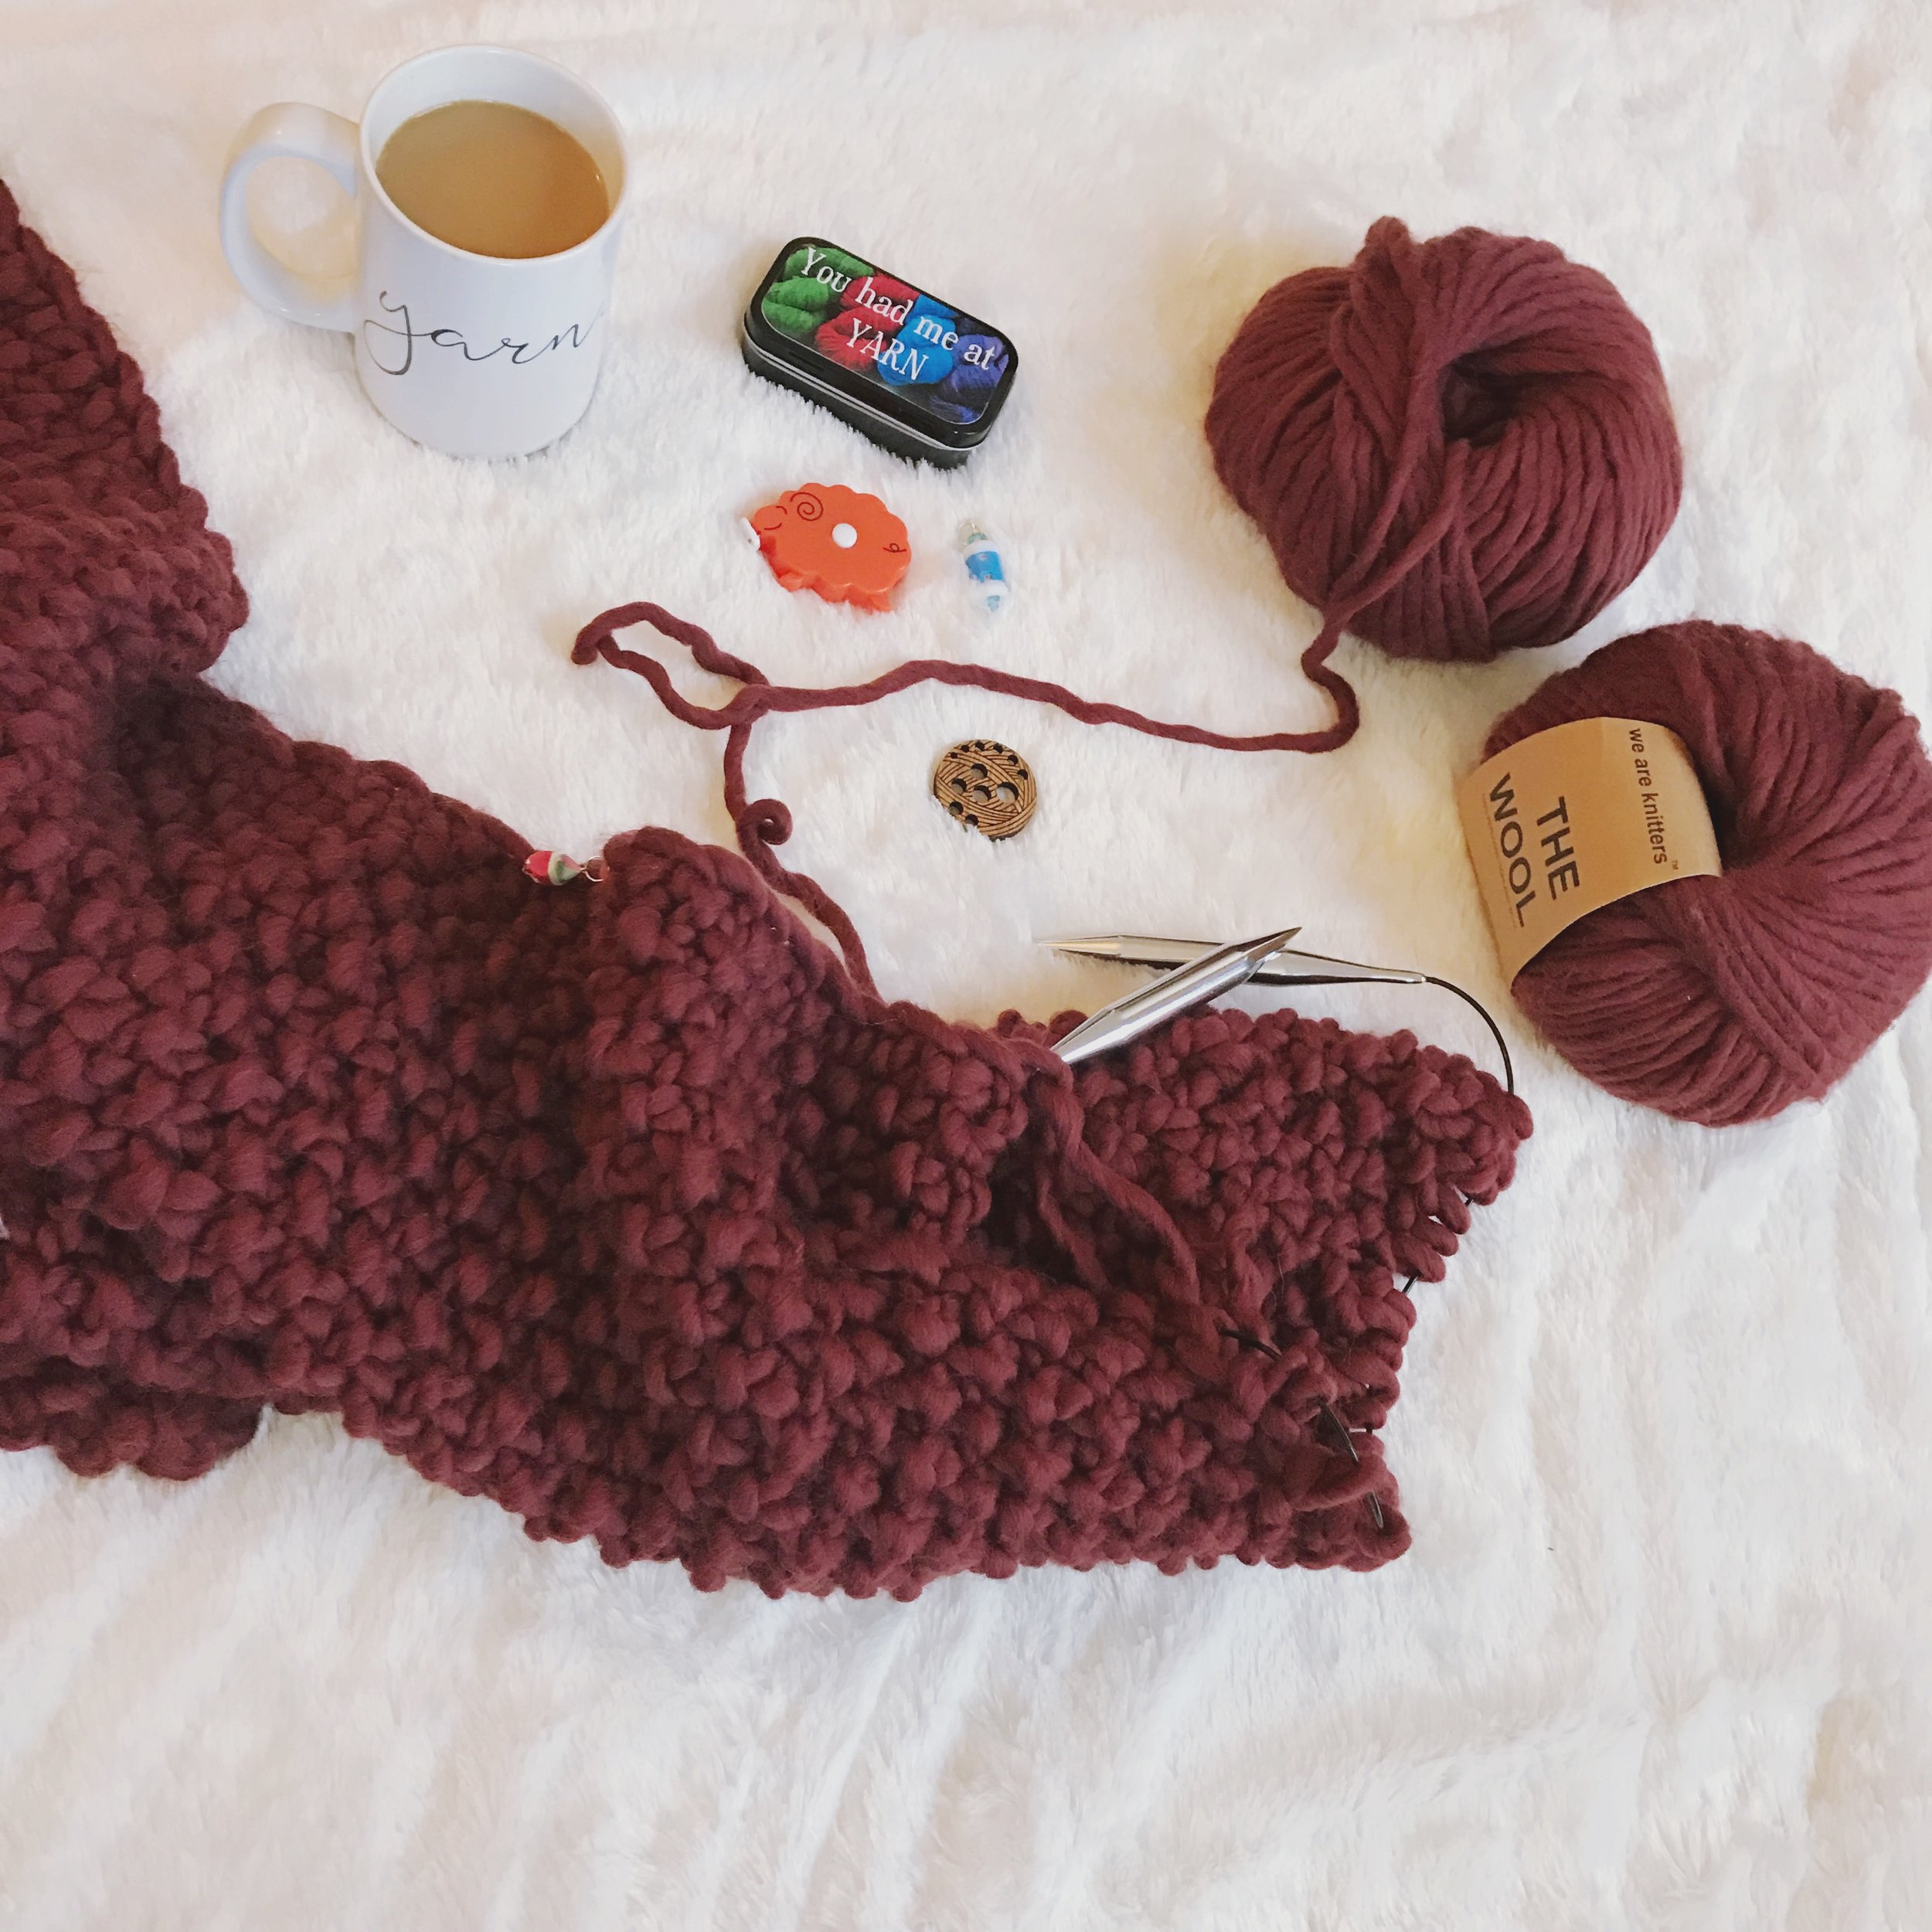
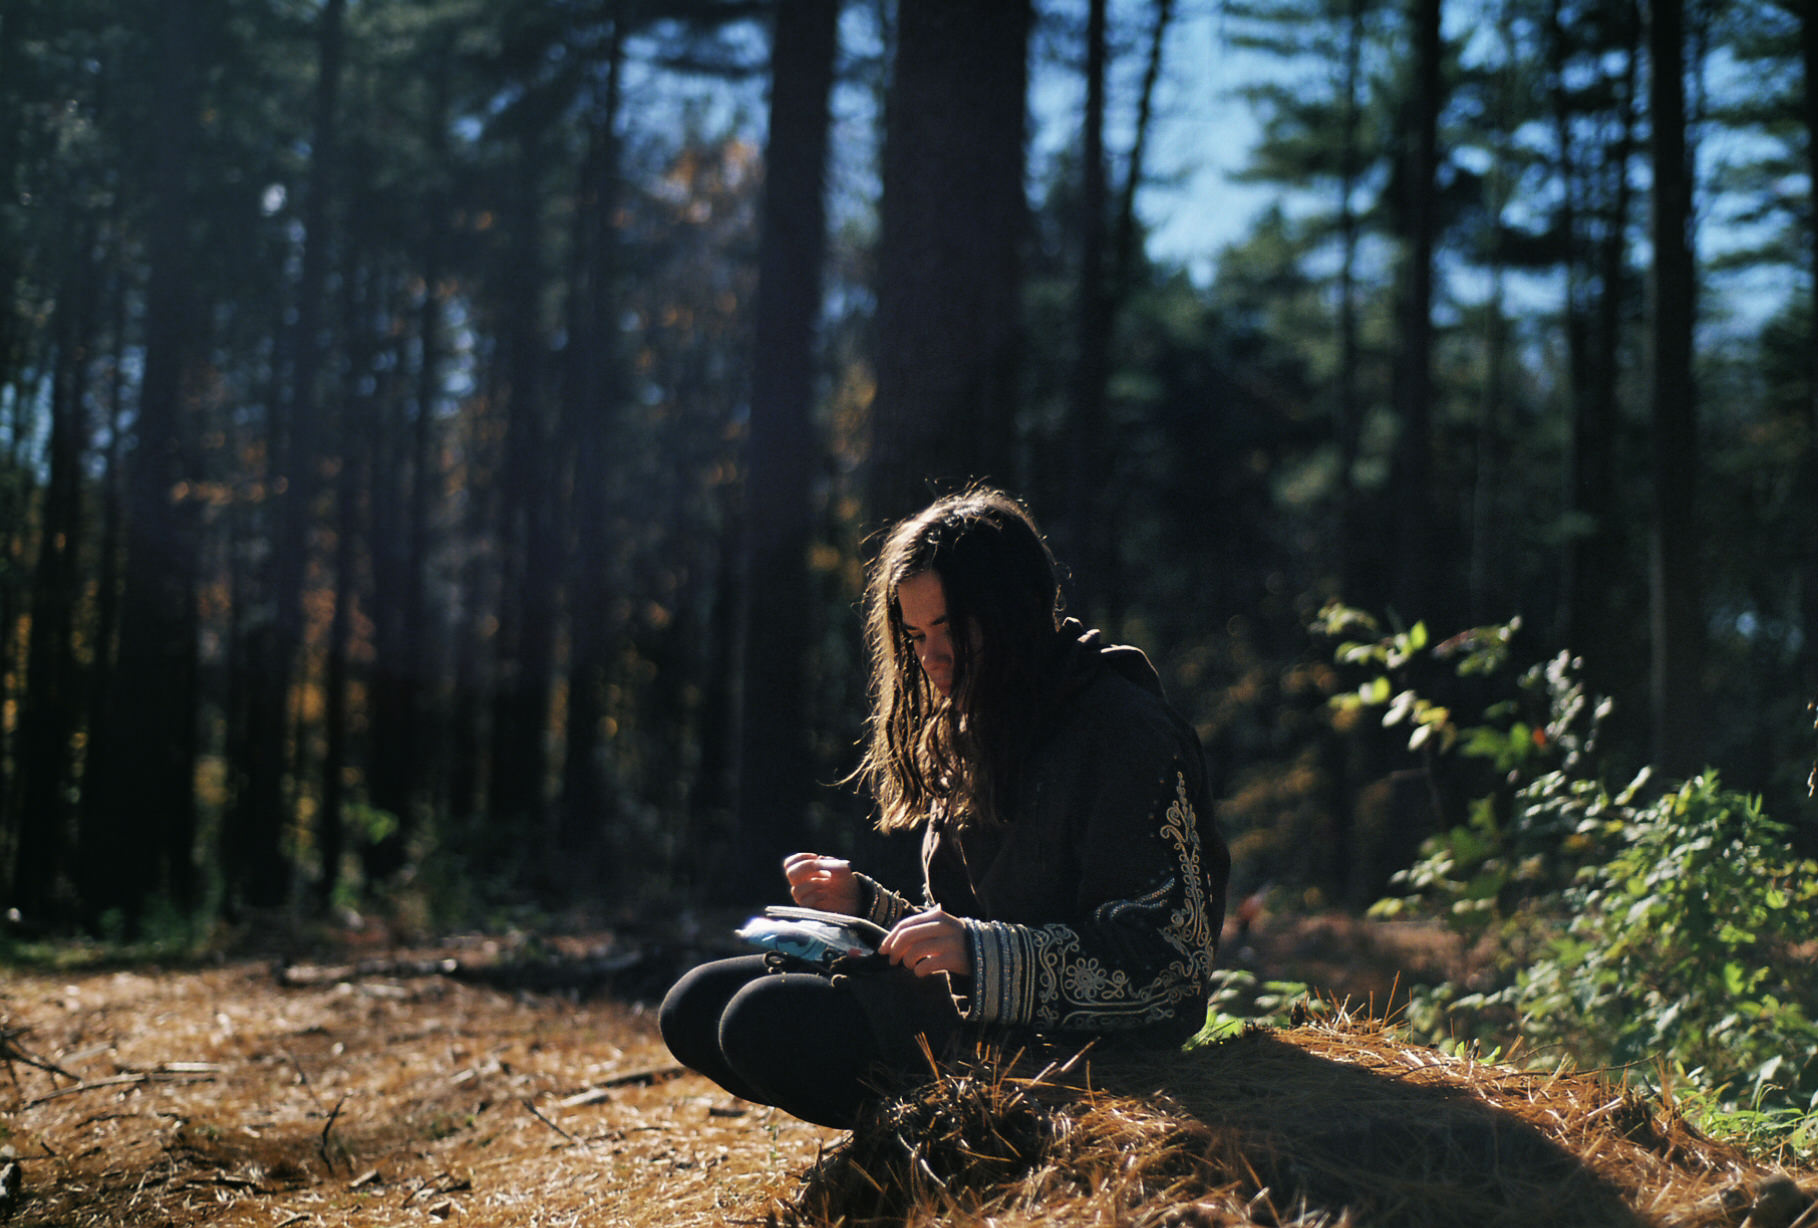
Before any project with Big Stitch Chunky merino I prepare the fiber with this quick and easy hand felting process.
Read MoreBefore any project with Big Stitch Chunky merino I prepare the fiber with this quick and easy hand felting process.
Read MoreThere is no hard and fast rule on blocking other than this one: You MUST block your knits (and crochet). These tips will help you do it with ease. Disclaimer: This post includes affiliate links. Read full blog disclosure here. Some materials for this post provided by Eucalan & Knitters Pride.
Read MoreI have gotten a lot of messages since my knit date with my gal Megan from Peppermint Pine shop about the table top tripod set in my crochet bag that we used for her Instagram Live video. So I thought this would be a great time do an update on my Photo Hacks post. Yup this post has affiliate links. I get credit if you buy these items. Let's dive in!
Checking the light meter setting up for pics
First let's talk lighting. Natural light is your friend. It is correct, easy to edit and gives you accurate coloring. Oh.. and it is FREE! But let's be honest, it is not always available. For me, I have one perfect area in my house that has amazing light. But for only 2 hours a day. When the sun shifts or if there is cloud cover then my photo plans are tanked. And while you can do a lot in post with apps and edit, it is extremely helpful to have some options.
I have an advantage having been a Production Manager & concert lighting technician and my husband still working in the field. So I get some cool toys I admit. But still, you don't need insider trading for badass lighting hacks. Here are a few I am fond of and use myself. Just remember this one thing: simulating natural light is not actual natural light. When you can, use natural light. Always. ALWAYS.
I bought this light kit on amazon because it has a great storage case and lots of options. There are LOTS of light kits so buy what is best for you but one thing is that no matter what light kit you get... BUY NATURAL BULBS.
The next thing is a bounce card. This will help you get more length of time out of that perfectly lit area of your home or studio. Basically, a bounce card is going to reflect light into a shadowy area. You don't need to be a photography pro to use one and in fact, this will illuminate your products in ways beyond imagination.
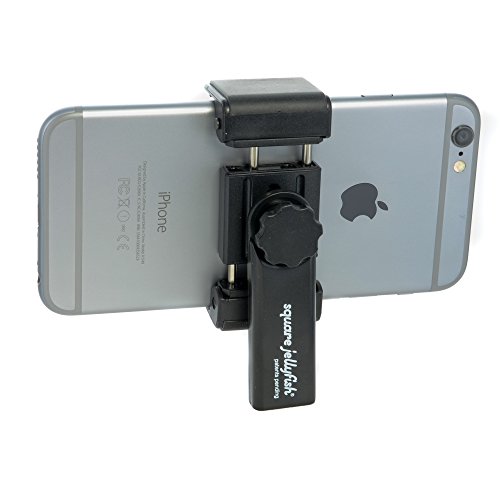
Next up: that table top kit from my knit date. It is what I call my secret weapon because no matter where I am I can always get the right angle. The right perspective and even the right distance. These will be your secret weapon too.

And for the products themselves, these are my MUST HAVES that live in my little crochet on the go kit and I use them for almost anything. Just not website product shots lol. Perfect for on the floor when I need that right angle. On the table. For Facetime so I can knit and converse at once. Yup... these are the ones you saw in the IG Stories with Megan and for less than $20 I got all I needed.
First up is my Jellyfish Mount. I love this thing. It holds my phone, my husband's phone (he has an iPhone +) and is so versatile and small and portable.
Now for my table top tripod. There are tons on the market. But let's be honest - this has a specific function. It is not for primary product shoots. I want something that is portable, lightweight and frankly can fit in my needle and hook case to go where I go. I also don't want to break the bank. I also didn't want something so flimsy that I would spend even more money replacing it. I did some solid research and this was where I landed and I love it!

There are lots of products on the market and everyone will always have their preferences. I can only tell you that I have in fact spent some money and time and found these to be the best, and for less than $20 it is worth a shot!
So get out there, get in the light and get your pics.
It's true. My purse sometimes looks like a notions bag instead of a purse. Never be shocked to find a crochet hook, stitch markers or tape measure whilst rummaging around for my lip gloss. Now that I have added knitting to my arsenal it has only gotten worse.
So it wasn't a hard sell for Sarah from the Sexy Knitter to catch my eye when she wanted to send me her new notions tin to check out. Yes please.

I was quite impressed when it arrived because the simplicity is beyond genius. I was like... um.. hello lovely new awesomeness that will now live in my purse. The size of an Altoid Tin and it comes with and holds all things I usually find floating around, sans hooks & needles of course. But let me tell you the real genius.. the one thing that makes me ooh and aahh over this baby: the magnetic top. No more jabbing my fingers with a needle. Now it is right where it should be and easily accessible pain free. She even put in the most adorable origami stitch markers and tiniest scissors I think I have ever seen.
I have already put this Tool Kit to great use and now as a treat for YOU, use code Stitchandhustle for 20% off to get your own. Just in time for the holidays and a perfect gift for your fellow yarnies. She's got a huge variety of yarnie saying to select from too. I say THUMBS UP SARAH!
Disclosure: Sarah of The Sexy Knitter sent me this tool kit free of charge for the purpose of this review. Although this is sponsored content, opinions and review are completely my own.
Following the theme of Nicole's awesome Time Management Tips post, I have been thinking about my own time management and how to streamline, improve and trim the fat. I want to share with you something that is a game changer for me. It actually came down to something as simple as I needed a new planner. What? YUP!
Although I am a roam the earth free spirit artistic kind of gal, I am also a planner. Shocking right? Well, let me explain.
Ever since I got my hands on my first FiloFax as a wee young up and comer, I have been a fan of the organizer & planner. It serves so many purposes. Not just helpful with dates and schedule but... It is a great place to stash business cards and receipts; it hold notes and numbers and random thoughts. My FiloFax has been around the world with me over and over until it died and finally the last stitch came apart a few years ago. Oh the stories it could tell. And oh the loss I felt.

Sure we are in the digital age and there are apps and tools for workflow. But for me, I like pen to paper. I am a fan of writing things down. I also like to gather my thoughts, spend a few minutes of quiet time and getting grounded. My needs have changed as I began to focus more on my small business, so I looked for planners that did more than just provide a place to write things down. I wanted to PLAN.
In my search I stumbled upon Passion Planner. What is this? I have Passion. I need a Planner. Hmmm..... As I read more & found out about the company (which has a great story you should read here) and the planner I discovered that they use mind mapping to help set a course to achieve goals. WAIT!?!? WHAT???
I LOVE Mind Mapping. How is it that I have never thought of this, but Thank God they did! It makes such perfect sense. I had to get one of these. And let me tell you- if you are an artisan, small business owner, human being with dreams & goals - you will want to get this too.
Granted, at first it is overwhelming. But the word itself means you need more than a notepad... we are making PLANS. In the short time since I have had my Passion Planner I can honestly say my efficiency has improved. My focus has increased. My spirit is lifted. Can a Planner really be the source of this? YES!
Because if you take the time in the beginning to invest and get going with the tools provided in the Passion Planner then it really does remove the clutter and help facilitate success. It is more than just things "to do". By following the Passion Planner layout tools, it has helped me prioritize, remove some clutter and truly come up with the HOW to achieving my goals. I am also a fan of the downloadable inserts. Because.. um.. graph paper :-)
As I gear up for busy season, it is crucial to streamline and be productive & efficient. I have incorporated spending a few minutes with my planner to start my day and it truly has helped me regain some focus I had lost in the clutter of To Do Lists. I am stoked to see how this continues and mind-map my way to achieving my goals.
And now, OMG - get this- the fine folks at Passion Planner are giving one Stitch & Hustle community member your very own 2016-2017 GameChanger Passion Planner. Um helloooooooo... get in on this. Enter below. Don't wanna wait to win one? You can buy one here
Disclosure: Passion Planner sent me this planner free of charge for the purpose of this review and provided the giveaway. Although this is sponsored content, opinions and review are completely my own.
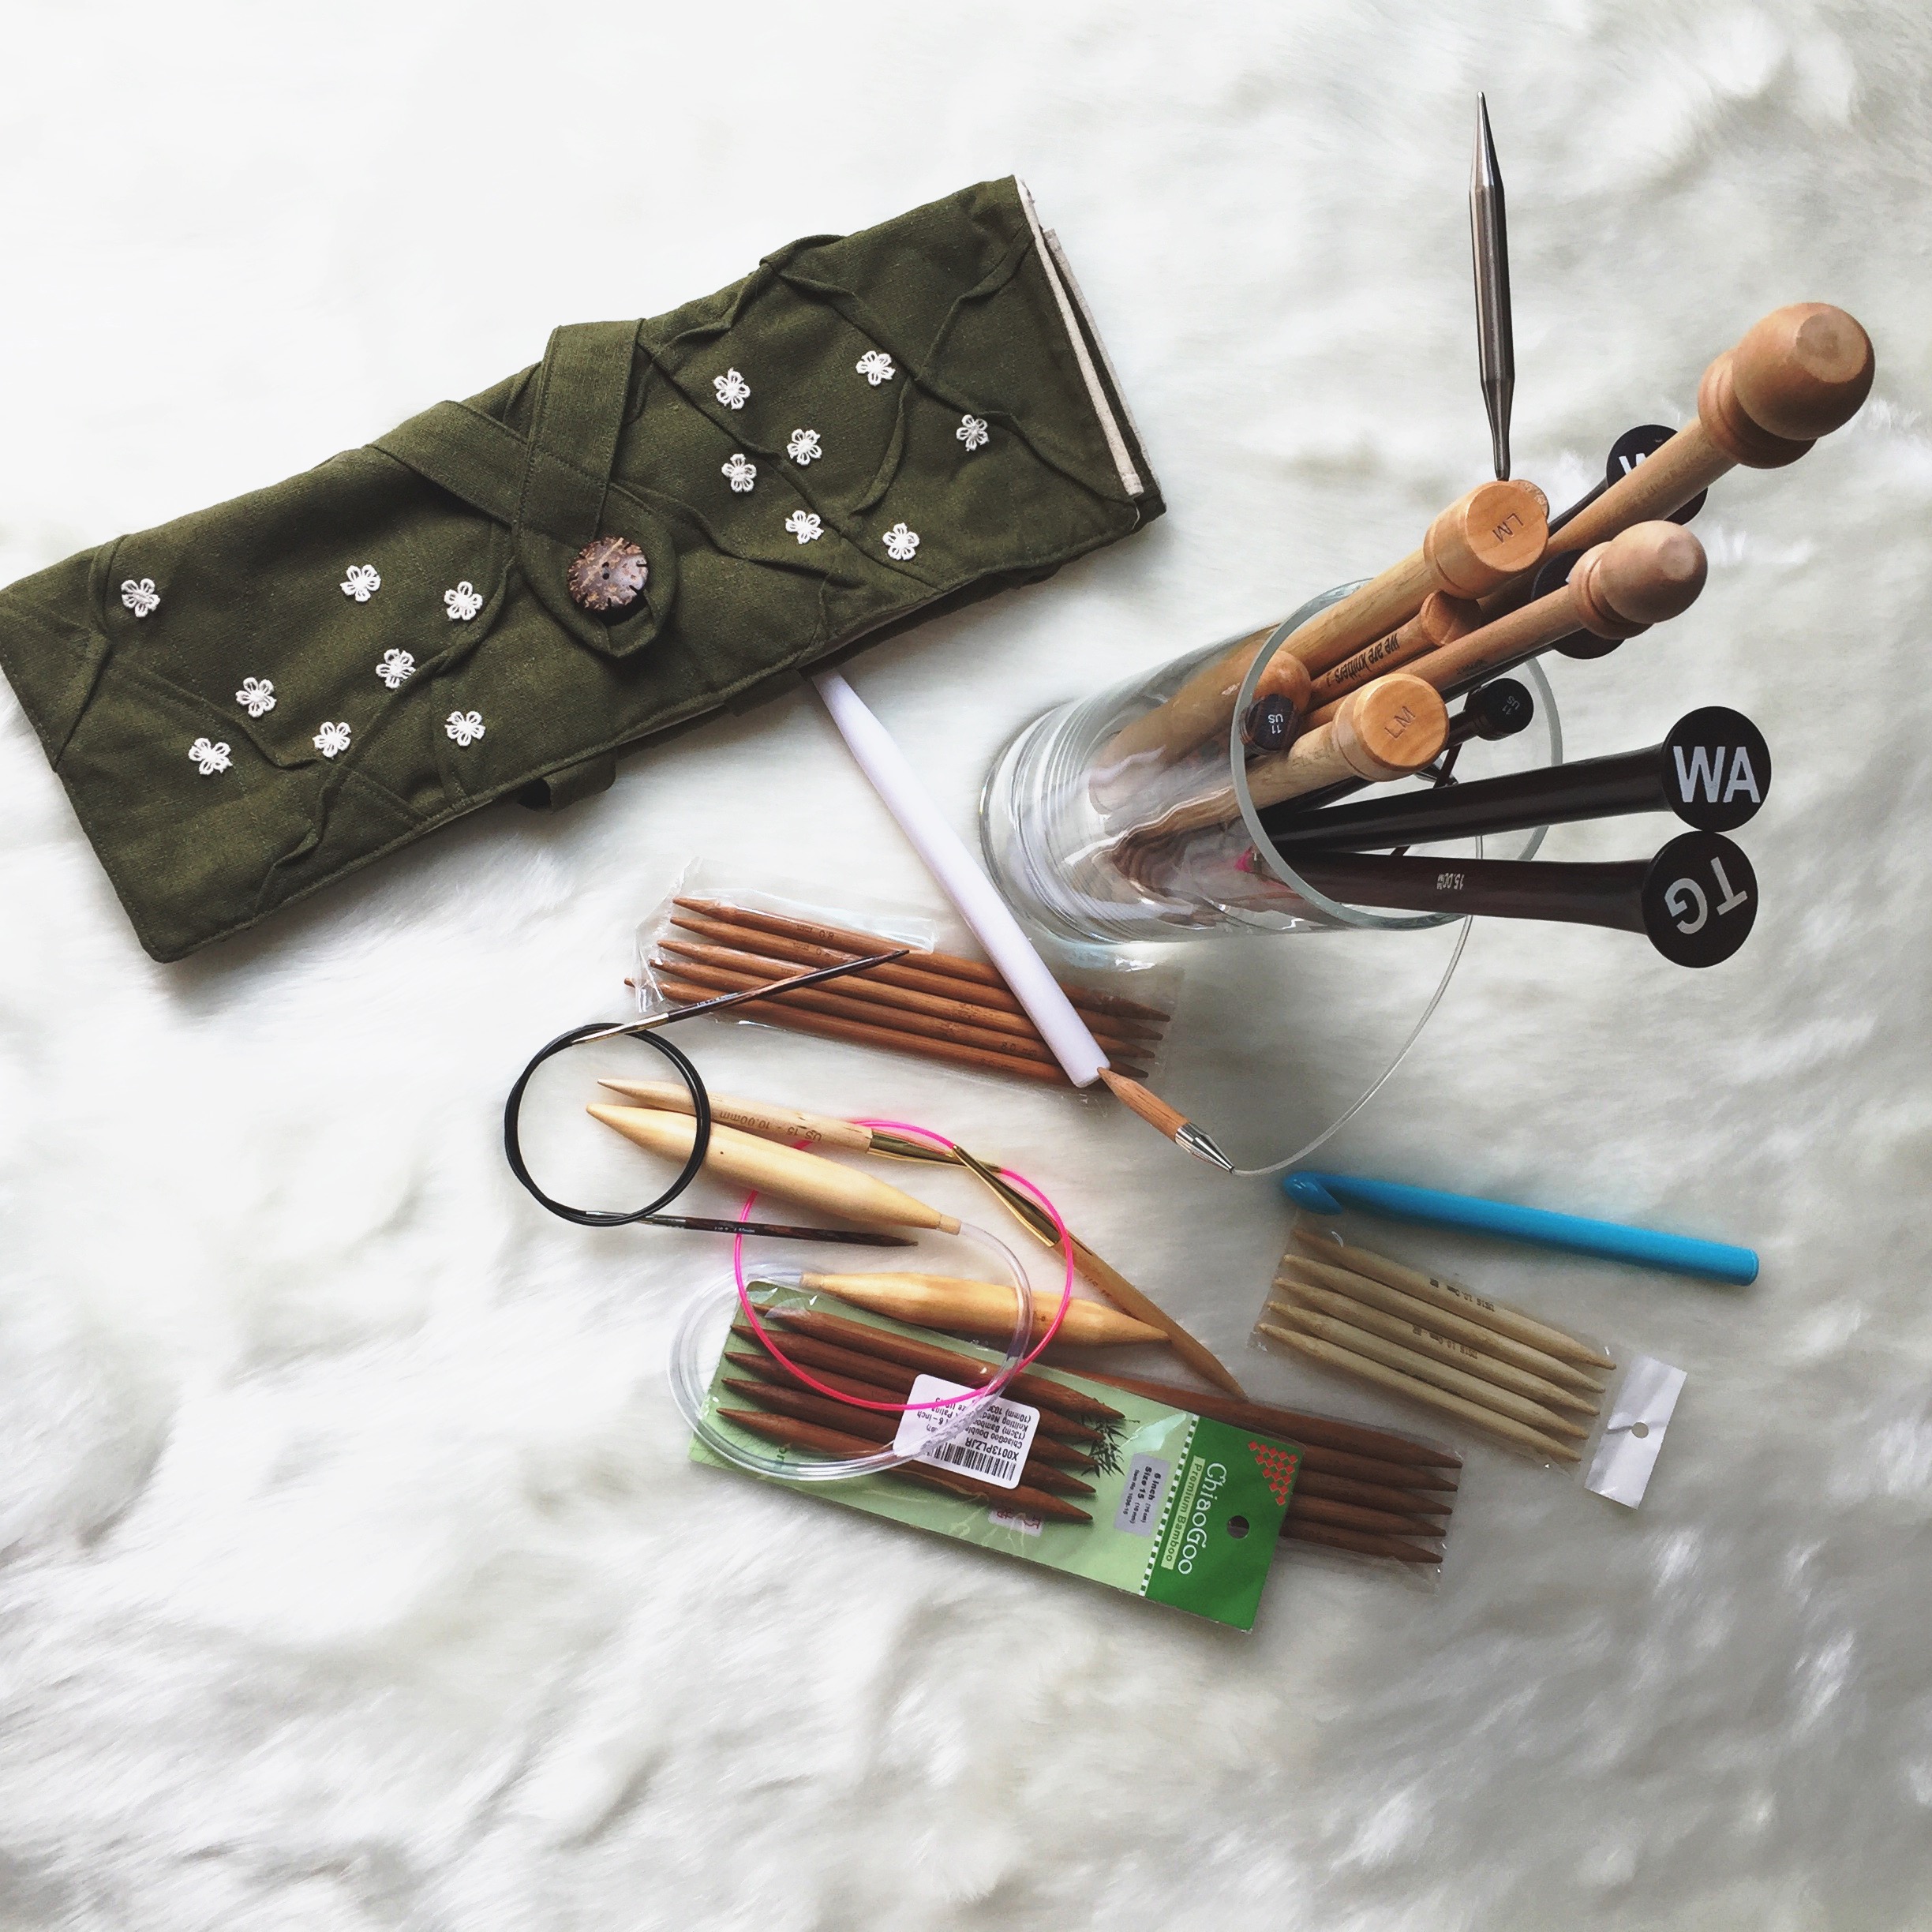
As a new knitter, I've quickly started collecting a variety of knitting needles and supplies. I've been trying my best to keep organized and shop smart so as not to amass a pile of things I won't use for the long run. But I know I needed a better way to store it all than using a vase on my yarn shelf. Especially since I travel so much. The vase won't travel well 😉
Since I have two crochet hook cases that I love from Atelier de Soyun on Etsy, I decided to go back and see if she could make me a knitting needle case. She had some in her shop but I wanted something that would hold all my gak in one case. I sent Soyun a description of the supplies I had and some of my needles are F-A-T, some others are loooooong and I explained that I wanted to make sure they would all fit into a single case. I was so excited when she said it could easily be done. YES!
Well, I could not be more thrilled with this purchase.
My knitting needle case is perfect! Yup... She nailed it. Every needle fits, even my F-A-T ones and long ones. She even added pockets for my shorter hat making needle sets as well as pockets for my circular needles. Every needle has its place and that makes my heart happy. I've got my needles all organized and ready for when I need them or when I travel.
While I was browsing her shop I noticed her lovely project bags so I also got myself one for my on the go days. The project bag is so amazingly well crafted and has inside pockets for organizing my supplies and notions. It's the exact size I needed and holds enough yarn and supplies for projects on the go. I am particularly happy with the drawstring close for when I toss that bag in the backseat (come on, we've all done it then cried when the yarn spilled out). I am now ready for travel!
This is my third case from Soyun and I cannot recommend this shop high enough. How do you stay organized with your hooks, needles & notions? Share in the comments below.
Whether it is for your website, promotional materials or to post on social media, product photography is crucial for success.
But what if you are not a pro photographer with full light kit and studio? Here are five tips, tricks and hacks to help you DIY yourself into better product shots.
Tip 1: Change Your Scene
You can order very inexpensive backdrops from Amazon. I got the Elle Bella Paper Backdrops shown here for $10 each! Then just tape it to the wall that gets the best light and boom: you have a studio.
Or, if you are so inclined you can go the extra mile and order a set of stands to hang the backdrop from. I got this Limo Studio set shown here for $35 on Amazon.
Tip 2: Clean Light Box DIY
If you have smaller products and want that clean white lightbox look, hit up your local craft shop and get 2 pieces of poster board. I got the pieces here for a total of $3 at my local Hobby Lobby.
Tip 3: Steady As You Go
Even if you are using your phone, as I personally do about 50% of the time, invest in a tripod. I got the one here for $25 from Amazon and spent another $10 on the Jelly Fish Spring Mount for when I use my iPhone.
Tip 4: DIY Floor & Backdrop Board
The truth is, sometimes it is just better to go with the classics and drop your product on the floor in a well lit room and shoot overhead. But what if your home rocks a 1970's avocado shag carpet? No prob!
Get yourself one of the $10 paper backdrops I mentioned in tip #1, grab a $2 piece of foam board and glue the paper to the foam board. Instant flat board backdrop. Ideal for almost any product and portable to go wherever you have the light!
If the light hits that one impossible sweet spot - no worries! Just get creative. I often use drawers to prop up my backdrop board in the bedroom that has the best afternoon light.
Tip 5: Use Props
I realize it may sound counter intuitive because you want to keep focus and showcase your product, but the truth is that your image tells a story about your product. So use props to help tell that story and maintain your brand message. I love this mini chalk board I got on clearance for $2.50 but you can also use whatever props are in your home and fit your brand message and vibe.
Hope these tips help you get started to better product photography. Feel free to also share your own tips and hacks below in comments. Happy shooting :-)

DISCLOSURES: As an Amazon Associate I earn from qualifying purchases. Posts may includes affiliate links. Read full blog disclosure here.

Hi - I’m Michele
Welcome to Stitch & Hustle. I have always loved crochet (and knit). I started this blog because I wanted to share beginner friendly entry level patterns for all levels of makers. But especially for those learning and just starting out with knitting or crochet. My patterns are super easy and a great place to practice skills with easy construction patterns - and most of the patterns are free for that very reason.
Hope you find something great to make here - and please do share your makes on social media tagging #stitchandhustle.


All photos, designs, and patterns are copyright of Stitch & Hustle unless otherwise noted. Please do not repost or claim content as your own. This site displays third party ads and contains affiliate links. Stitch & Hustle is a participant in the Amazon Services LLC Associates Program, an affiliate advertising program designed to provide a means for sites to earn advertising fees by advertising & linking to amazon.com. Read policies & disclosures here.
Thank you for visiting!
TERMS of SERVICE | PRIVACY | ACCESSIBILITY | TARGETED ADS STATEMENT | PRIVACY RIGHTS |
DO NOT SELL MY INFO | COOKIE POLICY
Stitch & Hustle © 2017 - 2025 ALL RIGHTS RESERVED.