Fiber Photography: Tips For Editing In Lightroom
/
Step up your fiber photography with the Photo Finish Series and these Pro tips on how to edit your fiber photography using Lightroom.
Read MoreStep up your fiber photography with the Photo Finish Series and these Pro tips on how to edit your fiber photography using Lightroom.
Read MoreThese tips will help you use your native phone app to edit your photos and make them social media worthy!
Read MoreTips for better photos of your fiber creations. This week: we talk about how to angle the shot to really show off your fiber.
Read MoreTips for better photos of your fiber creations. This week: we dive into deciding and creating the perfect background to show off your fiber and creations.
Read MoreTips for better photos of your fiber creations. This week: we dive into lighting and some tricks to light your fiber to make it look fabulous!
Read MoreTips for better photos of your fiber creations. This week: I invite you to think about how you use light and how you can use light to take better photographs. More importantly, I invite you to use your camera, whichever one you have, to see how your camera uses lights to create images.
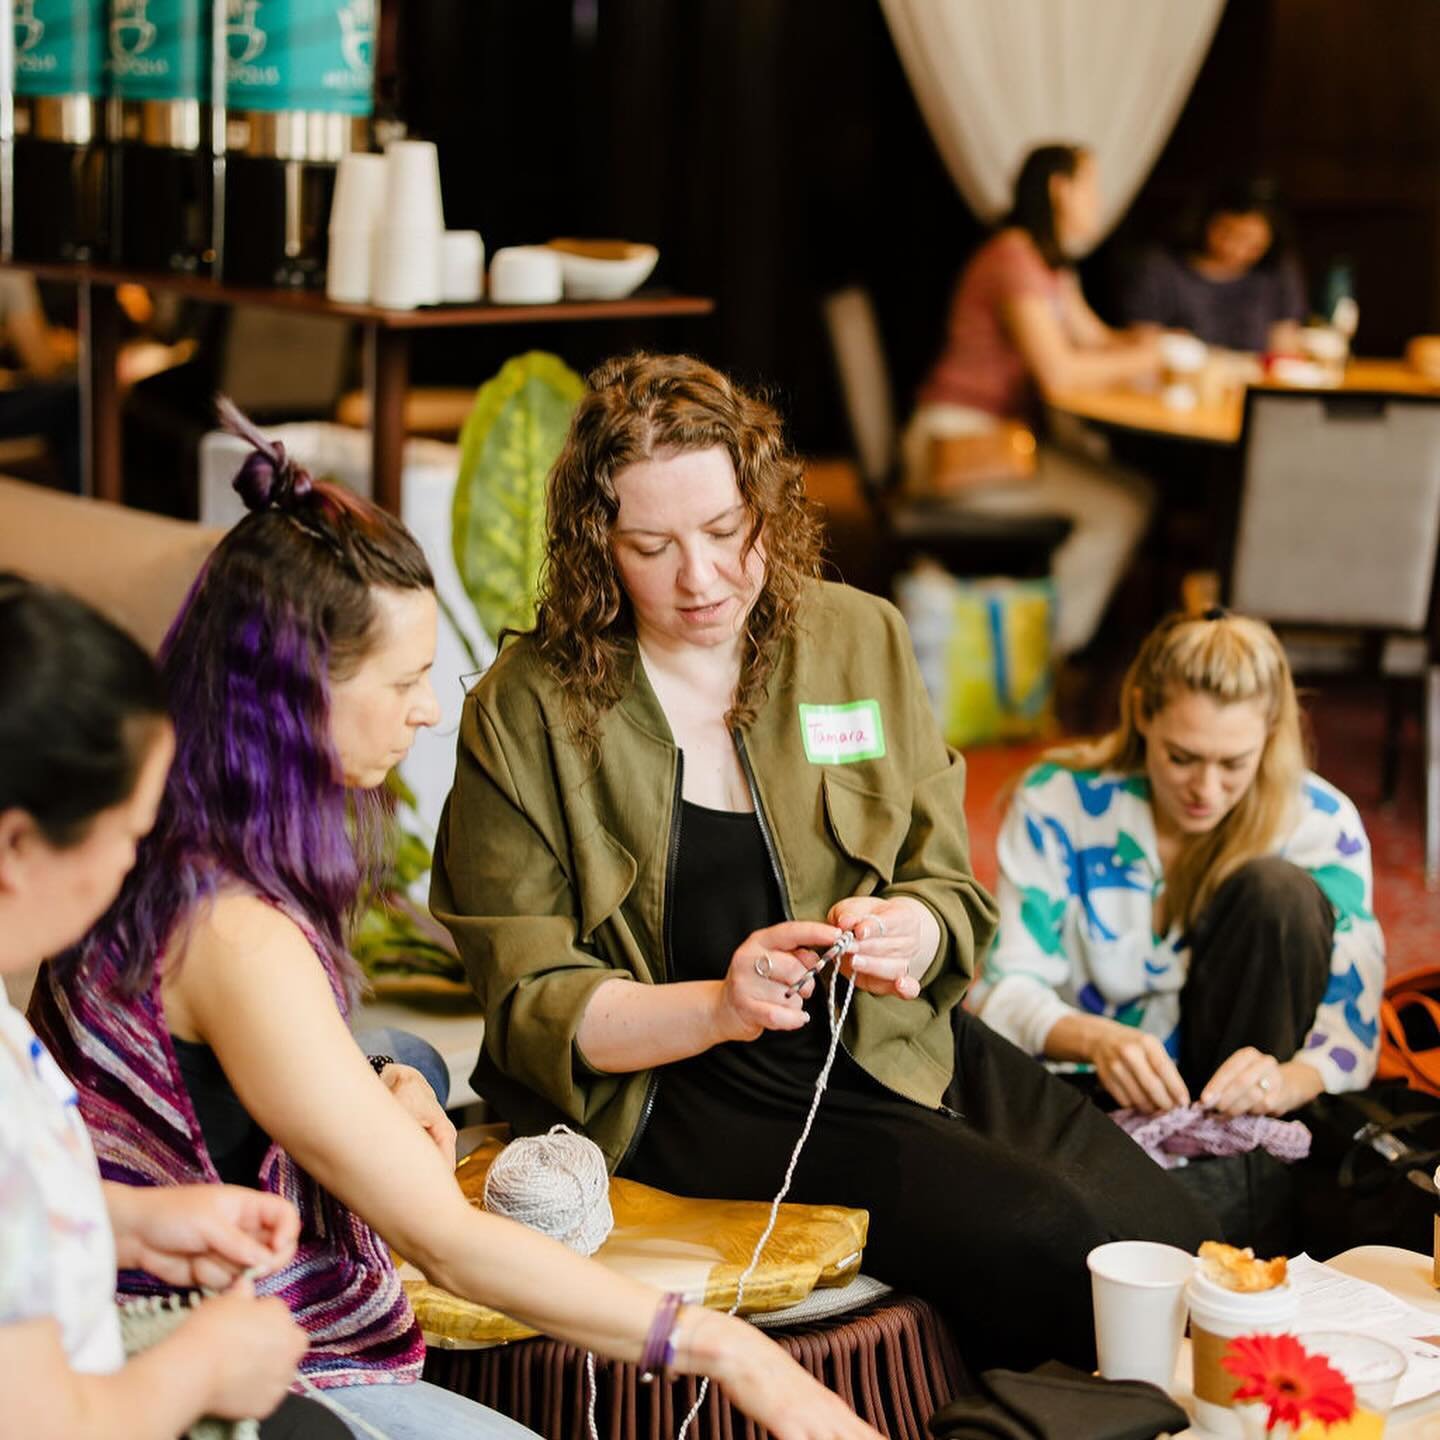
Read MoreI have gotten a lot of messages since my knit date with my gal Megan from Peppermint Pine shop about the table top tripod set in my crochet bag that we used for her Instagram Live video. So I thought this would be a great time do an update on my Photo Hacks post. Yup this post has affiliate links. I get credit if you buy these items. Let's dive in!
Checking the light meter setting up for pics
First let's talk lighting. Natural light is your friend. It is correct, easy to edit and gives you accurate coloring. Oh.. and it is FREE! But let's be honest, it is not always available. For me, I have one perfect area in my house that has amazing light. But for only 2 hours a day. When the sun shifts or if there is cloud cover then my photo plans are tanked. And while you can do a lot in post with apps and edit, it is extremely helpful to have some options.
I have an advantage having been a Production Manager & concert lighting technician and my husband still working in the field. So I get some cool toys I admit. But still, you don't need insider trading for badass lighting hacks. Here are a few I am fond of and use myself. Just remember this one thing: simulating natural light is not actual natural light. When you can, use natural light. Always. ALWAYS.
I bought this light kit on amazon because it has a great storage case and lots of options. There are LOTS of light kits so buy what is best for you but one thing is that no matter what light kit you get... BUY NATURAL BULBS.
The next thing is a bounce card. This will help you get more length of time out of that perfectly lit area of your home or studio. Basically, a bounce card is going to reflect light into a shadowy area. You don't need to be a photography pro to use one and in fact, this will illuminate your products in ways beyond imagination.
Next up: that table top kit from my knit date. It is what I call my secret weapon because no matter where I am I can always get the right angle. The right perspective and even the right distance. These will be your secret weapon too.

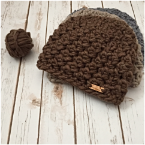
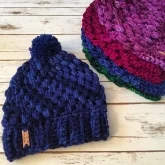
And for the products themselves, these are my MUST HAVES that live in my little crochet on the go kit and I use them for almost anything. Just not website product shots lol. Perfect for on the floor when I need that right angle. On the table. For Facetime so I can knit and converse at once. Yup... these are the ones you saw in the IG Stories with Megan and for less than $20 I got all I needed.
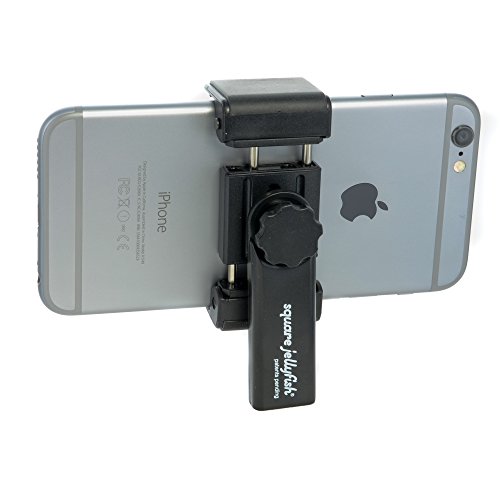
First up is my Jellyfish Mount. I love this thing. It holds my phone, my husband's phone (he has an iPhone +) and is so versatile and small and portable.
Now for my table top tripod. There are tons on the market. But let's be honest - this has a specific function. It is not for primary product shoots. I want something that is portable, lightweight and frankly can fit in my needle and hook case to go where I go. I also don't want to break the bank. I also didn't want something so flimsy that I would spend even more money replacing it. I did some solid research and this was where I landed and I love it!

There are lots of products on the market and everyone will always have their preferences. I can only tell you that I have in fact spent some money and time and found these to be the best, and for less than $20 it is worth a shot!
So get out there, get in the light and get your pics.
I have been very fortunate to find my creative journey and do what I love every day. I am truly living my dream. It is always magical but isn't always easy. It is TONS of hard work, even MORE mistakes than you can imagine, and some days I would rather play with a pile of yarn than be a business owner and do paperwork (I really loathe paperwork). And the truth is, by my own standard, I am not really that successful. I have SO MUCH I want to do and eventually land with my very own yarn shop with a classroom in the front for people to learn and share fiber love and an after school yarn program for neighborhood kids. Ah... I have so far to go. But I will get there.
And, while I am by no means a business guru or authority, I love sharing my journey and what I learn because it feeds my own success as much as it helps others. I get a LOT of emails, messages, tweets and posts asking for help on how to start a crochet, knit or creative business or open an Etsy shop. It is incredibly humbling. But... The truth is that this is a very difficult question to answer. There is no easy, "hey do this and you will be a success" formula. Every creative business is different.
You have to determine your own goals and road map. Hopefully, with this series: The Business Of Handmade, I can help you do that. Over this series we will talk about:
A Primer To Start Your Business (this post)
What Kind Of Etsy Shop Is Right For YOU
Do You Want A Business or A Side Hustle
If You Don't Love It Don't Do It
So let's get started!
Like I said above, there is no quick cookie cutter formula that I can give you to say do this and you will be a success. Having said that, here are 5 steps I took that may work for you and help you get your path started.
1. Open an Etsy Shop
Though the bulk of my business has moved off of the platform, joining Etsy was the best decision I ever made. Truly. Etsy gave me a place to get started, test the waters, learn about internet marketing and online sales without the burden of developing a full eCommerce site. It is SO EASY to use and setting up my shop took a matter of hours. When you join Etsy, it is not a magic wand and poof you will have sales. It takes work. You can use this link to get started with an Etsy shop and get 40 free listings! (disclaimer: if you use this link, I will also get free listings as part of the easy affiliate program)
The next post in this series will dive into WHAT kind of Etsy shop is right for you. Here are my general Etsy Starter Tips:
Join the Etsy Success Team. This is a team headed up by Etsy Admin for the community to discuss, exchange and explore ways to succeed
Read the Etsy Seller Handbook & Etsy Blogs. They are a wealth of information. Take the info and apply it to your shop. Not everything will apply. Go in baby steps. Do what you can so you are not overwhelmed.
Learn SEO. You do not need to become an SEO behind the scenes wiz. But it would be in your best interest to take time and learn the basics. Etsy has wonderful blogs and teams about SEO and how to make it work for you.
Take great photos. You don't need an expensive camera or to hire a photographer to get started. I still use my iPhone and some great photo apps sometimes. Show all the angles (front, side view, back view, etc.) and remember: Most shoppers are visual. Make your photos appealing.
Give all the information that you can without too much fluff in your item descriptions. That's not really the place to show off your creative writing skills. Give the facts: size, measurements, materials, use or functionality, etc. Check out my photo hacks here.
Use ALL the Etsy features. Etsy offers some really great shop features (About, Profile, online presence links). Use them ALL. Take some time to really think about telling your shop story in the About section but then maybe a little more about you as a person in your profile. Use the links to social media. I cannot say it again, Etsy makes it so easy why not use these areas?
2. Build customer relationships.
Social Media is an amazing overwhelming thing. I get it. But it is essential to grow your business in modern times because it IS your storefront. There are lots of different approaches to social media. You will have to work to find what's best for you and your business. Personally, I have more than one social media account. Some I use specifically for business, some I use to engage with other crocheters and others in the fitness community and other areas of interest.
I also started a blog as a way to take customers behind the scenes in both my design and creation process. It is a fun way to interact and share the backstory. I also offer free patterns and special coupons and articles like this that may be of help to my blog readers. We will be launching an in depth Social Media Series in two weeks.
3. Find your market.
In addition to my Etsy pattern shop, I also sell my patterns and designs on Ravelry and Craftsy. That is where my audience is. So if you know where your target market is, go there and sell to them. And look for new places to find them.
4. Build your own online presence.
In addition to my Etsy shop, I have my own stand alone website. This allows me freedom of design, content and inventory variation and control. It took some time to find the right platform. For me, I have a shop with supadupa and one with squarespace. BOTH are fabulous and offer incredible customer support. I have nothing but good things to say about them. I have been with each since they launched. Read Toni of TL Yarn Crafts talk about why this is important here.
5. Try new things.
My biggest tip is that you have to try new things. Some will work. Some will fail in epic proportions. But that is the best way to learn what works for your business. I cannot tell you how many things didn't work. But finding out that something doesn't work is not always bad. It often leads to something brilliant that does work.
Track things you try. Don't just haphazardly throw things at the wall hoping something sticks. Be deliberate and consider what will get you where you want to go. If something doesn't work, take a beat. Look at WHY it didn't work. Maybe it was an ad that just needs some tweaking. Maybe it was an ad that needs art and photos. Maybe it was the wrong demographic. There is ALWAYS something to learn from failure.
Finding those lessons and takeaways is how you will also find success. This is number 5 on the list but probably the single most important tip I can impart to you. Failures and mistakes are ESSENTIAL for success.
So there it is. My five tips to get you and your road map to a successful handmade business off the ground. The one thing I didn't mention (because I assume if you are here you know this) is you have to do the work. You can't be lazy. It takes lots of work and long hours but the joy and fulfillment I have found and continue to find is immeasurable. I work weekends. I work late at night. I work early mornings. I work! But I would not trade a minute of it and could not imagine it any other way.
Whether it is for your website, promotional materials or to post on social media, product photography is crucial for success.
But what if you are not a pro photographer with full light kit and studio? Here are five tips, tricks and hacks to help you DIY yourself into better product shots.
Tip 1: Change Your Scene
You can order very inexpensive backdrops from Amazon. I got the Elle Bella Paper Backdrops shown here for $10 each! Then just tape it to the wall that gets the best light and boom: you have a studio.
Or, if you are so inclined you can go the extra mile and order a set of stands to hang the backdrop from. I got this Limo Studio set shown here for $35 on Amazon.
Tip 2: Clean Light Box DIY
If you have smaller products and want that clean white lightbox look, hit up your local craft shop and get 2 pieces of poster board. I got the pieces here for a total of $3 at my local Hobby Lobby.
Tip 3: Steady As You Go
Even if you are using your phone, as I personally do about 50% of the time, invest in a tripod. I got the one here for $25 from Amazon and spent another $10 on the Jelly Fish Spring Mount for when I use my iPhone.
Tip 4: DIY Floor & Backdrop Board
The truth is, sometimes it is just better to go with the classics and drop your product on the floor in a well lit room and shoot overhead. But what if your home rocks a 1970's avocado shag carpet? No prob!
Get yourself one of the $10 paper backdrops I mentioned in tip #1, grab a $2 piece of foam board and glue the paper to the foam board. Instant flat board backdrop. Ideal for almost any product and portable to go wherever you have the light!
If the light hits that one impossible sweet spot - no worries! Just get creative. I often use drawers to prop up my backdrop board in the bedroom that has the best afternoon light.
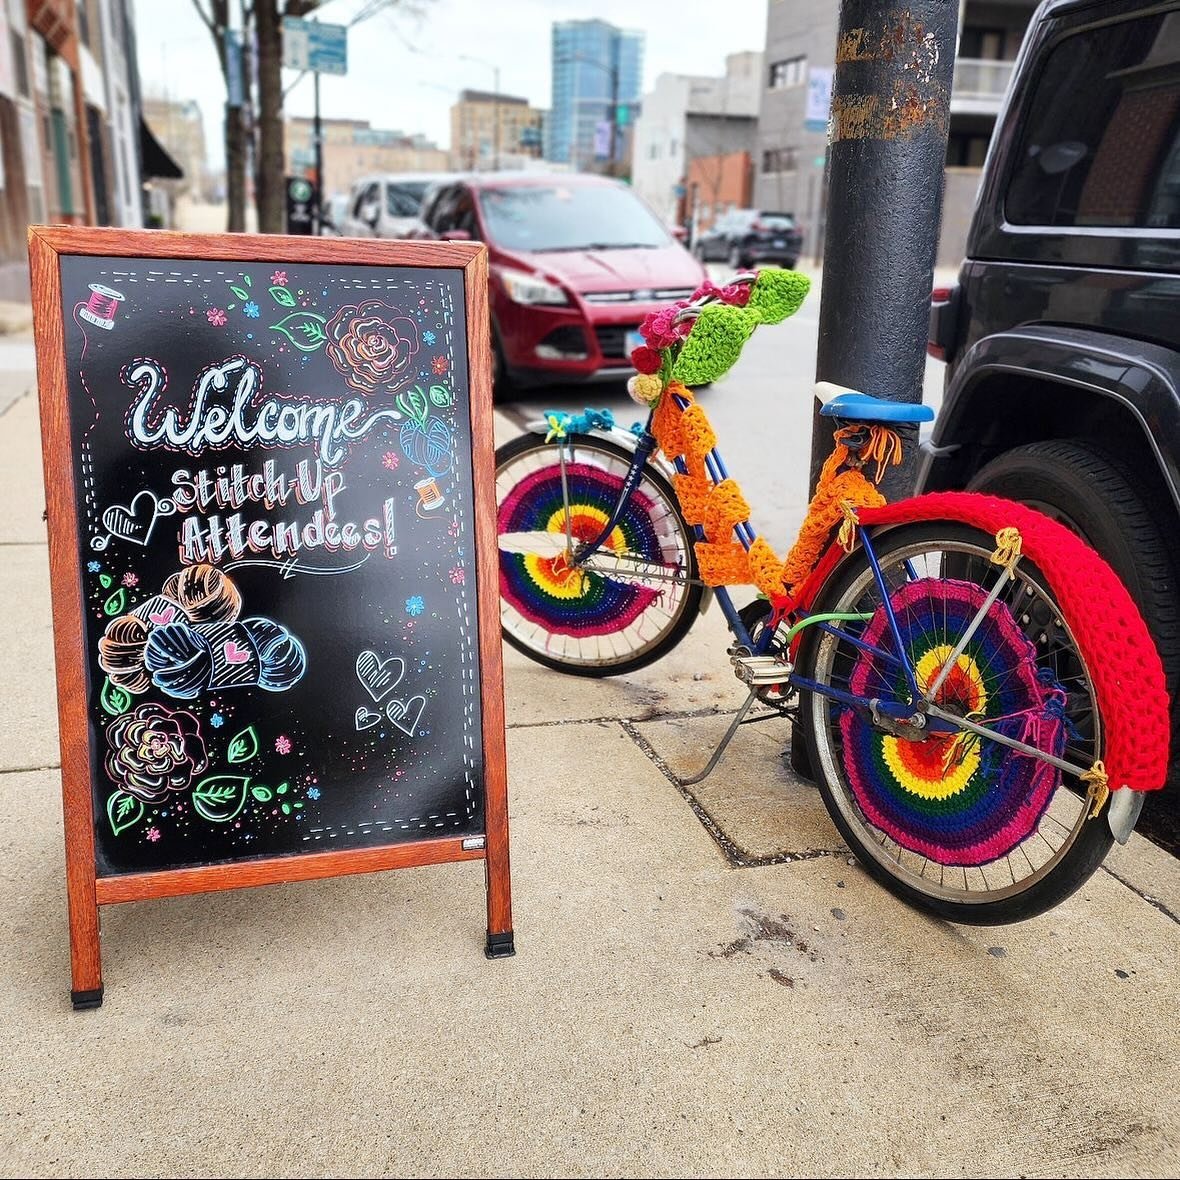
Tip 5: Use Props
I realize it may sound counter intuitive because you want to keep focus and showcase your product, but the truth is that your image tells a story about your product. So use props to help tell that story and maintain your brand message. I love this mini chalk board I got on clearance for $2.50 but you can also use whatever props are in your home and fit your brand message and vibe.
Hope these tips help you get started to better product photography. Feel free to also share your own tips and hacks below in comments. Happy shooting :-)

DISCLOSURES: As an Amazon Associate I earn from qualifying purchases. Posts may includes affiliate links. Read full blog disclosure here.

Hi - I’m Michele
Welcome to Stitch & Hustle. I have always loved crochet (and knit). I started this blog because I wanted to share beginner friendly entry level patterns for all levels of makers. But especially for those learning and just starting out with knitting or crochet. My patterns are super easy and a great place to practice skills with easy construction patterns - and most of the patterns are free for that very reason.
Hope you find something great to make here - and please do share your makes on social media tagging #stitchandhustle.


All photos, designs, and patterns are copyright of Stitch & Hustle unless otherwise noted. Please do not repost or claim content as your own. This site displays third party ads and contains affiliate links. Stitch & Hustle is a participant in the Amazon Services LLC Associates Program, an affiliate advertising program designed to provide a means for sites to earn advertising fees by advertising & linking to amazon.com. Read policies & disclosures here.
Thank you for visiting!
TERMS of SERVICE | PRIVACY | ACCESSIBILITY | TARGETED ADS STATEMENT | PRIVACY RIGHTS |
DO NOT SELL MY INFO | COOKIE POLICY
Stitch & Hustle © 2017 - 2025 ALL RIGHTS RESERVED.