Knit & Crochet Picot Edge Blocking Tips & Tutorial

Oh the Picot stitch! Truly one of my faves to make and adds the perfect finishing touch to almost every project. But to get the full effect of it, the trick is in how it is blocked, not just stitched! Whether you knit or crochet, this Knit & Crochet Picot Edge Blocking Tips & Tutorial will show you how a few simple and easy steps can get you the look of your dreams with perfectly popping picot edges. This works for any knit or crochet picot edge!

Read More

Cotton! Get Your Cotton ON!

Cotton! Get Your Cotton ON!

I love that cotton has such a rich history as a fiber and that there are almost endless options to what can be done with it. For me, it is about finding the right cotton for the piece I am designing and making. Here are some of my favorite cotton fibers and why I love them so much.

Read More

It's A Pom Pom Party!

Michele_In_Knit_PomPom_Beanie_Hat.jpg

If you know me then you know Pom Poms make me smile. They do. It is like a little POP of awesome.

Someone once told me that Pom Poms on hats originated in the Scandinavian Navy for sailors to prevent them from hitting their heads when entering their quarters. I have no idea if that is true or not. But I do really like that story and have certainly passed on that tale a time or two. It is simple and gives Pom Poms a bit of a noble purpose.

But for me? They are just awesome and fun.


As a matter of design they add contrast or whimsy to an item. I can use them for color pops too. And lately, I must say, I have gone on from Pom Poms to Tassels, but that is for another day. Let us stick with the Pom Pom shall we?

CYC_PomPom_Party_2017_2.jpg

So when I heard that Craft Yarn Council was hosting a Pom Pom Party for September, well, um... YES PLEASE! Not that I need a reason to celebrate Pom Poms but I love Pom Poms and I LOVE parties so it felt like it was calling me to join in the fun.

They have so many fun ways to join the party: CYC will be hosting a Pompom-Along September 11-15 to show you all the ways you can make and style your pompoms. On social media check the hashtag #pompomparty too.

Be sure to follow them and the Pom Pom Party on Facebook and Instagram throughout the week and check out their Pinterest board for even more ideas!  And check out all these fabulous projects featuring Pom Poms.

And that is not all... LEGIT.. WAIT THERE IS MORE!!! 

I teamed up with the incredible team at Clover USA to bring you ALL YOU NEED to make your perfect Pom Poms (and tassels)! Check this out and enter below to win the WHOLE POM POM MAKING KIT!

I used to use cardboard scraps to make my pom poms. Yes, this works but dang it is a pain in the butt and they were always uneven which meant lots of trimming and shaping.

Then I stumbled on to the Clover Pom Pom Maker. Have you seen it? This thing is the bees knees of pom pom making and now I cannot tell you how I lived without this for so long! It is so easy to use and Clover offers a variety of sizes so you can pretty much make any Pom Pom in any size you need. I make poms poms in seconds now and also - a great way to repurpose scrap yarn!

Now I know, because it happened to me, that upon first sight these handy tools can seem odd or overwhelming to figure out. It is strange to me now looking back because truly once you get the hang of it they will be your best friend. I highly recommend this how to video from Brittany at B. Hooked on how awesome these Clover USA Pom Pom Makers are.

Like I said, once you get the hang of it, these will become one of your favorite tools in your tool box. I was so happy when I reached out to Clover for this post that they wanted to sponsor this giveaway. You can win a Clover USA Pom Pom maker kit! WHAT? I KNOW!!!!!  Enter below.


Disclosure: Clover USA sent me the Pom Pom Makers free of charge for the purpose of this review and collaboration Although this is sponsored content, opinions and review are my own.

Mama Knows Redux: Tips & Tricks Working With Big Stitch Merino

Since sharing my first project with Mama Knows Luxury, I have been asked about how the fiber works up. I am no expert on Merino Top (the official name for Big Stitch Merino) but have been working with this stuff for weeks now so can only speak from that experience. And my experience has been AWESOMESAUCE. I mean I have beat the heck out of it. I knit it. I crochet it. I frog it. I do it again. I have no complaints.

I am finishing a hat design, did a scarf and just published a free basket pattern after doing the barstool/placemats ... oh and I am kicking around a blanket idea. For real you guys. I JUST LOVE IT and am having so much FUN. You know I will always give you the straight talk about fibers. This is fab! It is big chunky merino and I was having a blast and it is super fun and holds up so far.

Sarah has a blog post that she wrote that dispels and explains many of the myths about working with Big Stitch Merino. And as I continued with exploring and playing with my Mama Knows Luxury stash, I also found a few tricks of my own. And now I will share those tricks with you :-)

Trick one: Do NOT pull it. No yanking, no tugging and certainly NO PULLING. When I frog the wool, I just do it a little gently. Then it stays pretty in tact with no fraying or separating. Also - when I frog it, it is better to leave it laying out yarn ramen style instead of making it back into a ball. This just keeps the fiber from one extra set of tugging.


some rare occasional extra fluff

some rare occasional extra fluff


Trick two: Do not pull at it (in case you missed it the firs time). Yes, there is some shedding and I had two snag issues while working up the fiber. To me that is minor and nothing to fret about. Certainly not as many as you might expect based on the nature of the fiber. You may see a little morsel shed off here and there or even a little chunk of the fiber as you work up. LEAVE IT ALONE. Do not pull at it or pick it. Because then it will fray and cause deterioration of the fiber. What I did was just tuck it in. Easy peasy.

Trick three: Get the Felt Kit from Mama Knows. For real. This will be your new best friend. And, to be honest, I use it for my bulky merino too such as scarves and sweaters. I use this kit not just when it comes to the ends, but if a little tiny bit starts to fray off (which only happened once to me) then i just felted it back into place. Boom! GET THIS KIT.

Trick four: This is the mack daddy of all my tips. You ready? Hand felt the merino as you work it up. WHAT? That sounds so tedious and hard! Michele you must be crazy. Did you just say that? HA! It is so easy. Watch this little video and you will see it is so easy and so helpful. It secures the fibers. It toughens it up. It makes it your friend. It is a few extra minutes of work that will make your project come together with so much ease it is worth it.

Well, now that we've got a handle on how to handle this yummy Big Stitch Merino... how about another project? Sticking with my "More Than Just Big Blankets" theme, I came up with another fun home decor item. Super easy to make and great if you want to get your feet wet with Merino Top wool. I bring you: The basket. Again, I opted for hand crochet but you can certainly use the Big Stitch Hook. Get the free pattern here and get the fiber from Mama Knows Luxury.

So go get some big chunky fiber and explore... don't worry about those myths. Have some big ol' big merino fun!

Write That Pattern! How To Write A Crochet Pattern

I was recently asked by Vincent of Knot Bad to help him learn to write patterns for his wearable items. That request for help was followed by a long series of texts over the next several days with lessons covering everything from how to determine gauge and yarn requirements to general verbiage and then... like magic he published his first wearable pattern. YAY! Success!

I was also helping two other friends begin writing patterns this week and since I know so many ask about writing patterns and bringing ideas to life, I thought why not share my process with everyone and make it a blog post. Now I am sitting here typing and thinking, I wish I had saved my texts with Vincent so I could paste them here for ease. LOL. No worries... we can dive in. Let me start by saying: YOU CAN DO THIS.

To begin, I always go back to something Drew Emborsky (AKA The Crochet Dude) told me when I was first starting to write my own patterns and overwhelmed and clueless: Start simple. Make it a tutorial and just tell people what to do. It is so simple it is almost mind blowing. Write down what you do. Revolutionary right? But that's all a pattern really is: instructions to tell someone else how to achieve the same result you did. A roadmap.

My first patterns were more like tutorials and not at all technical. But they got the job done: to tell people how to make what I made. As my designs grew in difficulty, my pattern writing skills were becoming more developed as well. So while tutorials saying do this, then do this are great and can often do the trick, for garments with sizing and items with design variations I would need to go beyond that with solid pattern writing.

It all starts with an idea and some yarn...

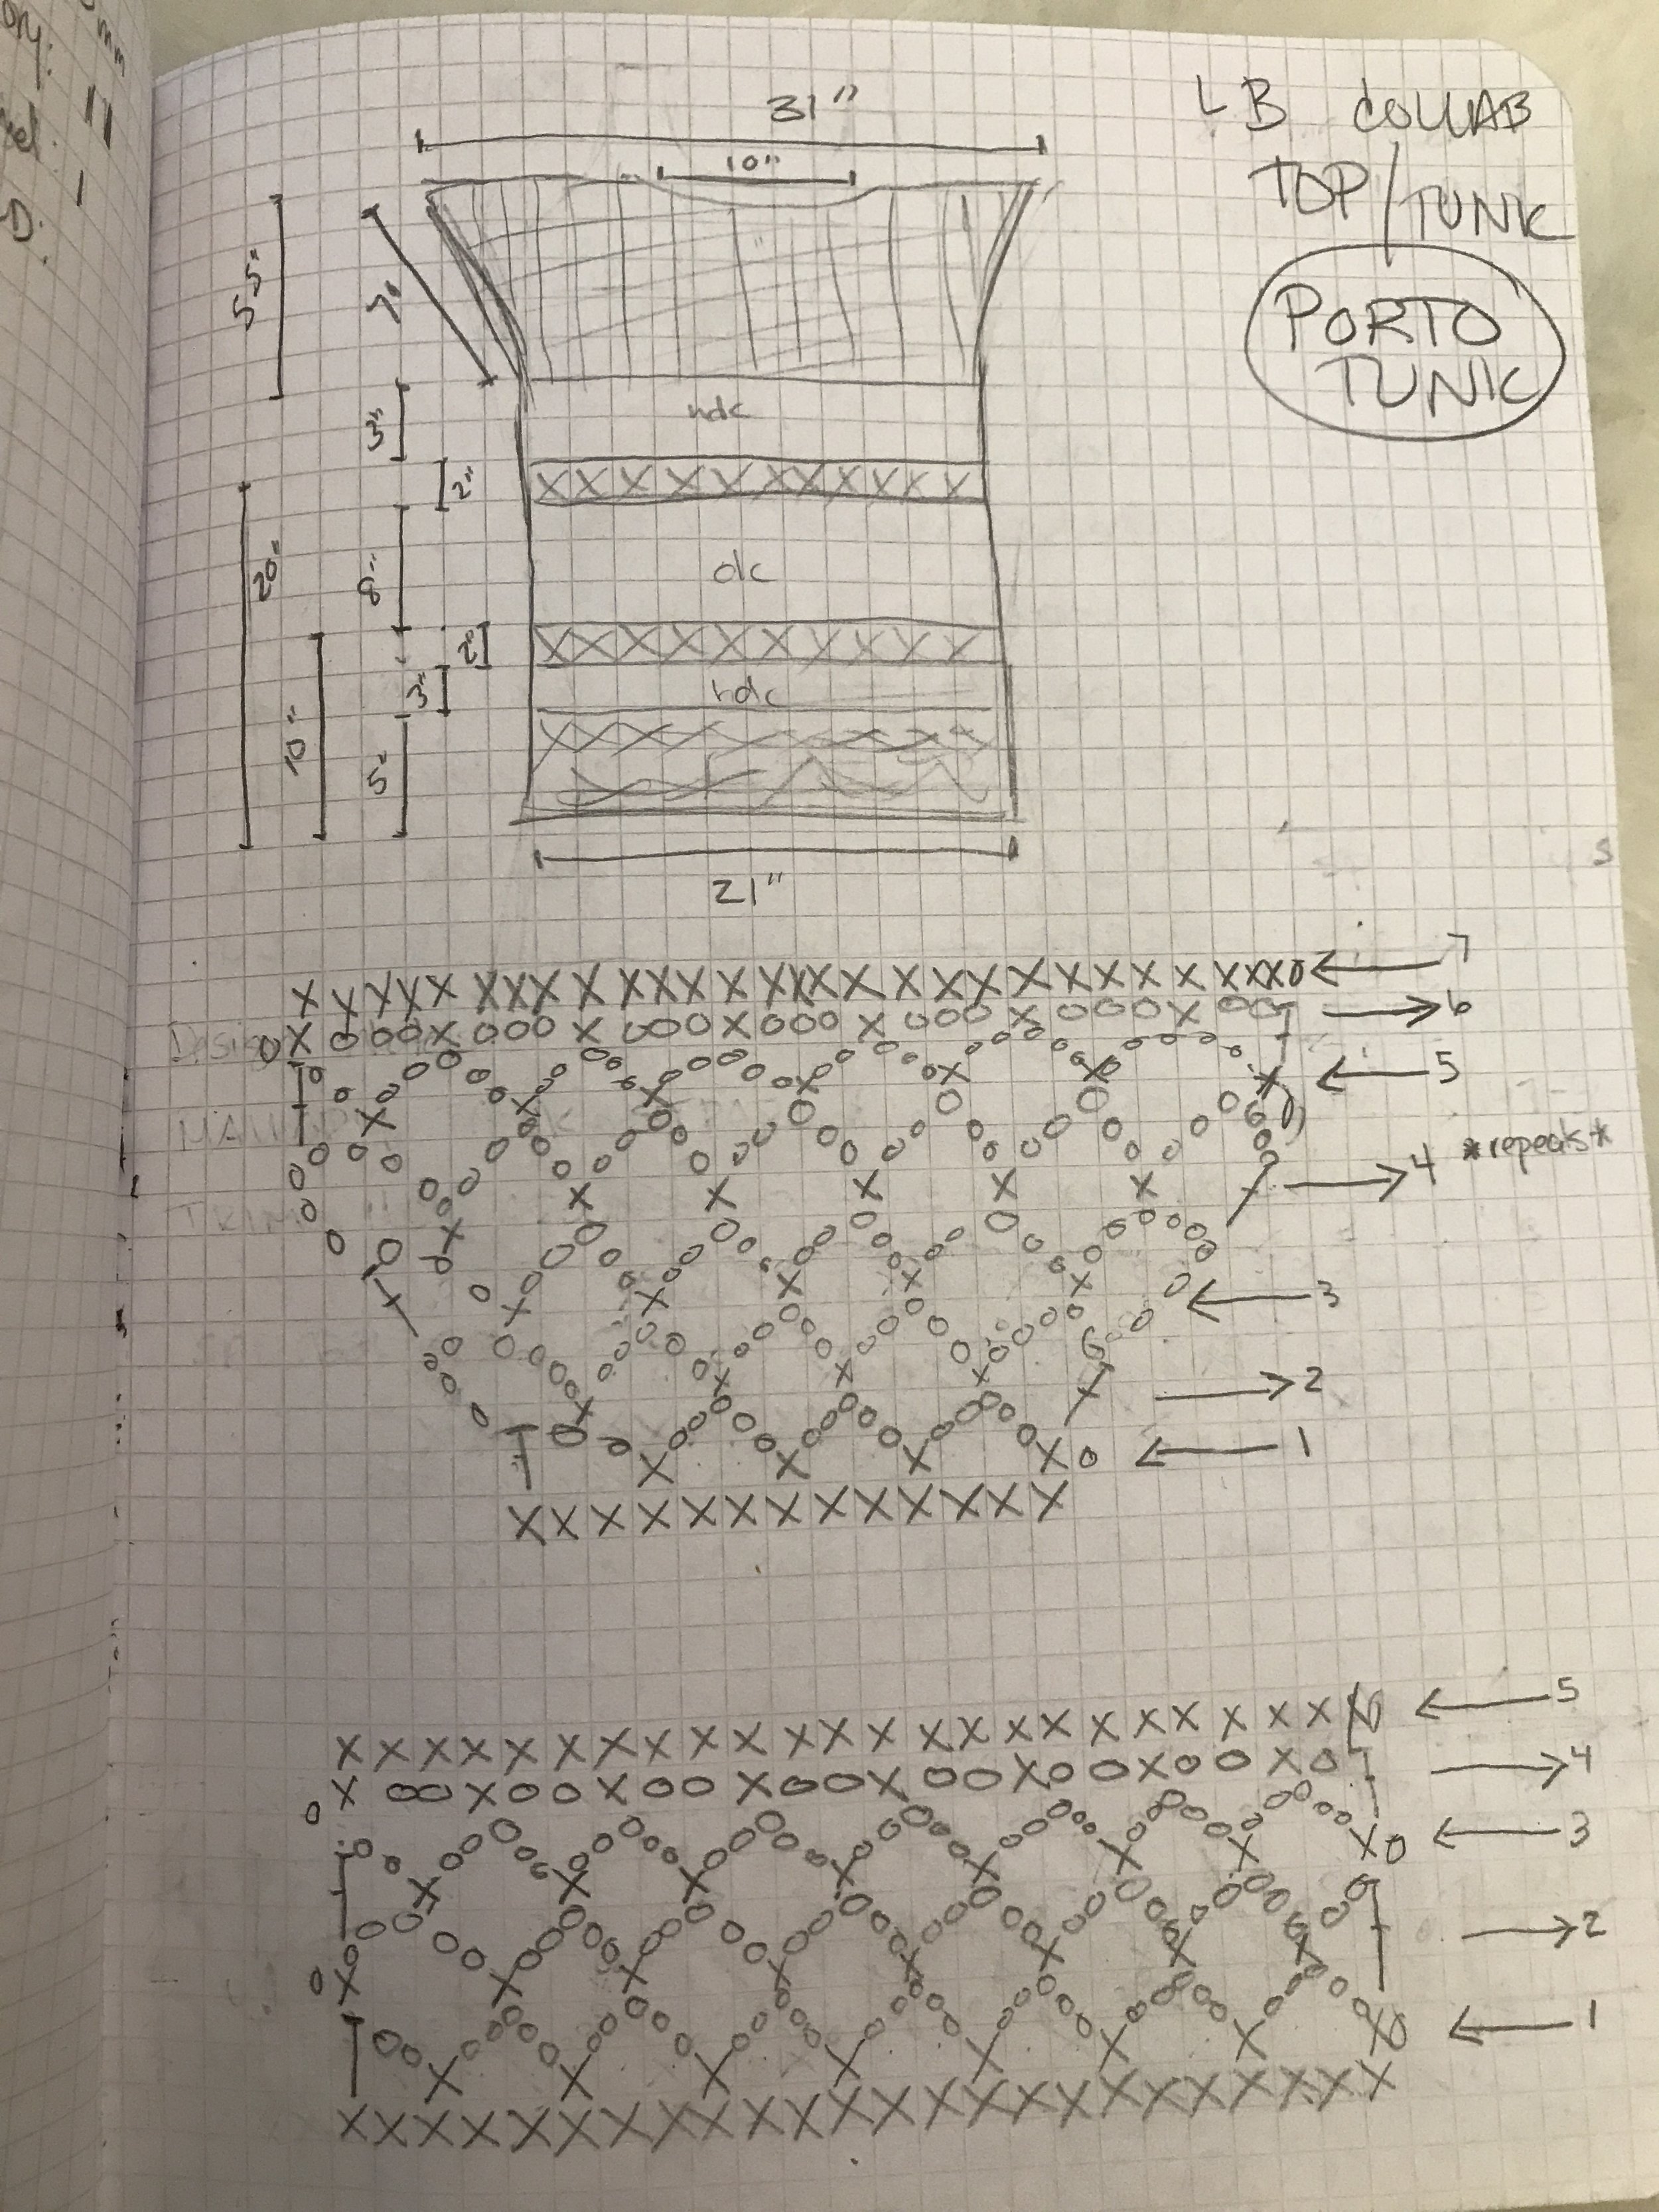
For me, my process always starts with an idea. I have in my mind a look to achieve. As I work to achieve that look I take detailed notes. I have learned over the years that I should use pencil. There is a lot of erasing in my process. I also have a single design book that is in my studio but also carry mini design books in my bag for ideas that hit on the go. I prefer the grid pages of Doane Paper for my travel books and have a journal notebook for my main designs.

My note process is twofold: I write down what I do in words, but I also draw the stitchwork. This is known as Charting. I know it is intimidating to many, but the truth is that charting is a HUGE time saver. I can literally see the chart in my mind when I imagine what I want to create. I can visualize the stitches and it helps me create the exact look I am going for. It is also great for when I am in the groove and don't want to write all the words. I can just chart and come back later to fill in the complete steps.

Once I have got my notes and finished garment it is time to write up that pattern. Woo Hoo! Now starts the real work and is much less fun. Though, I have to admit... I kind of like this part too. As you sit down to turn your notes into your pattern, don't feel like things are "known" or make assumptions. The thing about writing a pattern is information: you want to give as much detail as you can to the person making it. Success is when I never hear from a customer except to show me what they have made. That means I have communicated clearly and they are able to create the item.

I have written enough patterns where now, I have a template that works for me and is set up to always give me prompts to add information. It is super helpful so I don't leave things out. Information your pattern should have at the start:

WHAT IS IT: What are people making? Who designed it? My cover page always has my logo, website, copyright detail, pattern name and photos right off the top. Boom!

WHAT DO YOU NEED: Remember, you are giving someone all the information to make your design. I always list supplies and stitches off the top. For stitches: I give the abbreviation and the stitch name. People crochet & knit all over the world so be clear. I refer to the Craft Yarn Council for best practices on abbreviations.

WHAT ELSE DO YOU NEED TO KNOW: Again, the most important thing is to communicate as much information as possible for the user to get the result they want. On my sizes I use standard sizing but also give information on specific areas (bust or waist, etc) as well as any information on how the garment fit is designed. Sizing details will vary based on what the pattern is for. Again, I refer to Craft Yarn Council standards for best practices on sizing

GAUGE: OK... I could (and will) do a whole blog post on gauge. Gauge is my nemesis but it is essential. Gauge is the way to success, especially if you are using multiple stitches. In this case you need to communicate to the user how to achieve gauge and what stitch is used. No one has the exact same tension so in order to achieve the look, the user will need to know gauge.

Phew.... still with me? Now we get into the actual pattern... the meat and potatoes. YUM!

Design / Pattern Writing Essentials: Yarn, Coffee, Notebook, Markers, Tape Measure, Notions.

Take a look at some of the Free Patterns on this blog to get a feel for this part of the process. This is where you actually tell the people what steps to take so they can create the masterpiece you designed.  But this is not the time to feature all of your creative writing skills. Less is more here. No fluff. Just clear and precise directions.

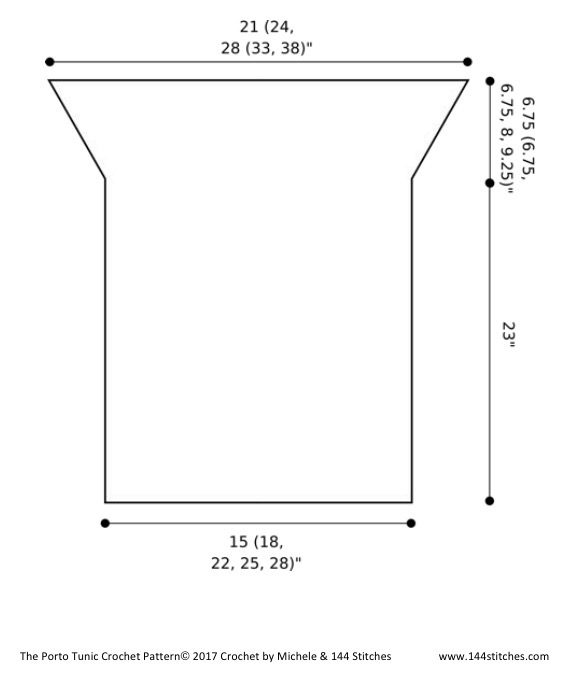
And anyone who has purchased my patterns knows that I try to lay out the steps concisely and clearly as well as include charts and schematics. It is ok if you do not know how to do charts or schematics. You can also include photos if that best illustrates what needs to be done. As long as you are clearly laying that road map out then you are all good.

OK. So you've got your item made, notes transcribed into steps to follow and you've added photos or charts as needed. GO YOU!!!! You have nearly got yourself a pattern. Have a sip of coffee and get ready for the home stretch.

Give the pattern a once over, then a twice over, and maybe even a third look to scan for mistakes & make sure you got all of your notes from your notebook on there. This is the point where I would send my pattern off for technical editing. This is basically the process where the pattern is checked by a pro. The math is checked. The schematics are added (if they haven't been already) or checked. The pattern is checked to follow best practices and standards set by the Craft Yarn Council and such. This is a step I know many do not take because it costs money. For me, as a professional pattern writer it is essential.

So now here you are: You have written, checked and re-checked your pattern. You have had the math checked and tech edited the language. You are almost ready to hit that publish button.

But first -  you need to take it out for a spin. Grab some of your fiber friends and see if anyone is available to test your pattern out. Often times I miss things. It happens. In June I published 24 patterns that month. I would be lying if I said they were all perfect out of the gate!

Having fiber friends test your pattern is an invaluable opportunity for feedback from everything to gauge to fit to stitch counts to grammar to you name it. I am fortunate to have a great pool of testers and would not get my patterns out there without them.

Now you've had an idea, you've brought it to life and created a way for OTHERS TO CREATE. Woo Hoo! Publish your pattern and do a little dance.

Can't wait to see all of your design ideas coming to life. Happy designing.
And see part 2 of this post here

Stop. Block. And Roll. Tips for Blocking Your Knits

Stop. Block. And Roll. Tips for Blocking Your Knits

There is no hard and fast rule on blocking other than this one: You MUST block your knits (and crochet). These tips will help you do it with ease. Disclaimer: This post includes affiliate links. Read full blog disclosure here. Some materials for this post provided by Eucalan & Knitters Pride.

Read More

Photo Hacks Too: Lighting & Instagram Live

I have gotten a lot of messages since my knit date with my gal Megan from Peppermint Pine shop about the table top tripod set in my crochet bag that we used for her Instagram Live video. So I thought this would be a great time do an update on my Photo Hacks post. Yup this post has affiliate links. I get credit if you buy these items. Let's dive in!

Checking the light meter setting up for pics

First let's talk lighting. Natural light is your friend. It is correct, easy to edit and gives you accurate coloring. Oh.. and it is FREE! But let's be honest, it is not always available. For me, I have one perfect area in my house that has amazing light. But for only 2 hours a day. When the sun shifts or if there is cloud cover then my photo plans are tanked. And while you can do a lot in post with apps and edit, it is extremely helpful to have some options.

I have an advantage having been a Production Manager & concert lighting technician and my husband still working in the field. So I get some cool toys I admit. But still, you don't need insider trading for badass lighting hacks. Here are a few I am fond of and use myself. Just remember this one thing: simulating natural light is not actual natural light. When you can, use natural light. Always. ALWAYS.

I bought this light kit on amazon because it has a great storage case and lots of options. There are LOTS of light kits so buy what is best for you but one thing is that no matter what light kit you get... BUY NATURAL BULBS.

The next thing is a bounce card. This will help you get more length of time out of that perfectly lit area of your home or studio. Basically, a bounce card is going to reflect light into a shadowy area. You don't need to be a photography pro to use one and in fact, this will illuminate your products in ways beyond imagination.

Next up: that table top kit from my knit date. It is what I call my secret weapon because no matter where I am I can always get the right angle. The right perspective and even the right distance. These will be your secret weapon too.

And for the products themselves, these are my MUST HAVES that live in my little crochet on the go kit and I use them for almost anything. Just not website product shots lol. Perfect for on the floor when I need that right angle. On the table. For Facetime so I can knit and converse at once. Yup... these are the ones you saw in the IG Stories with Megan and for less than $20 I got all I needed.

First up is my Jellyfish Mount. I love this thing. It holds my phone, my husband's phone (he has an iPhone +) and is so versatile and small and portable.

Now for my table top tripod. There are tons on the market. But let's be honest - this has a specific function. It is not for primary product shoots. I want something that is portable, lightweight and frankly can fit in my needle and hook case to go where I go. I also don't want to break the bank. I also didn't want something so flimsy that I would spend even more money replacing it. I did some solid research and this was where I landed and I love it!

There are lots of products on the market and everyone will always have their preferences. I can only tell you that I have in fact spent some money and time and found these to be the best, and for less than $20 it is worth a shot!

So get out there, get in the light and get your pics.